Taking care of bouldering calluses is an essential part of your hand care routine as a boulderer or climber. If you leave them to abandon, the dreaded flapper could appear and your day and possibly week will be ruined. How do you take care of your hands? See some essential steps below.
Bouldering Calluses: What Are They?
A callus is an area of thickened skin that develops due to repeated friction or other similar repetitive motions. Most boulders develop them within the first few months. If you have been climbing for years, you more than likely have ripped a few off too!
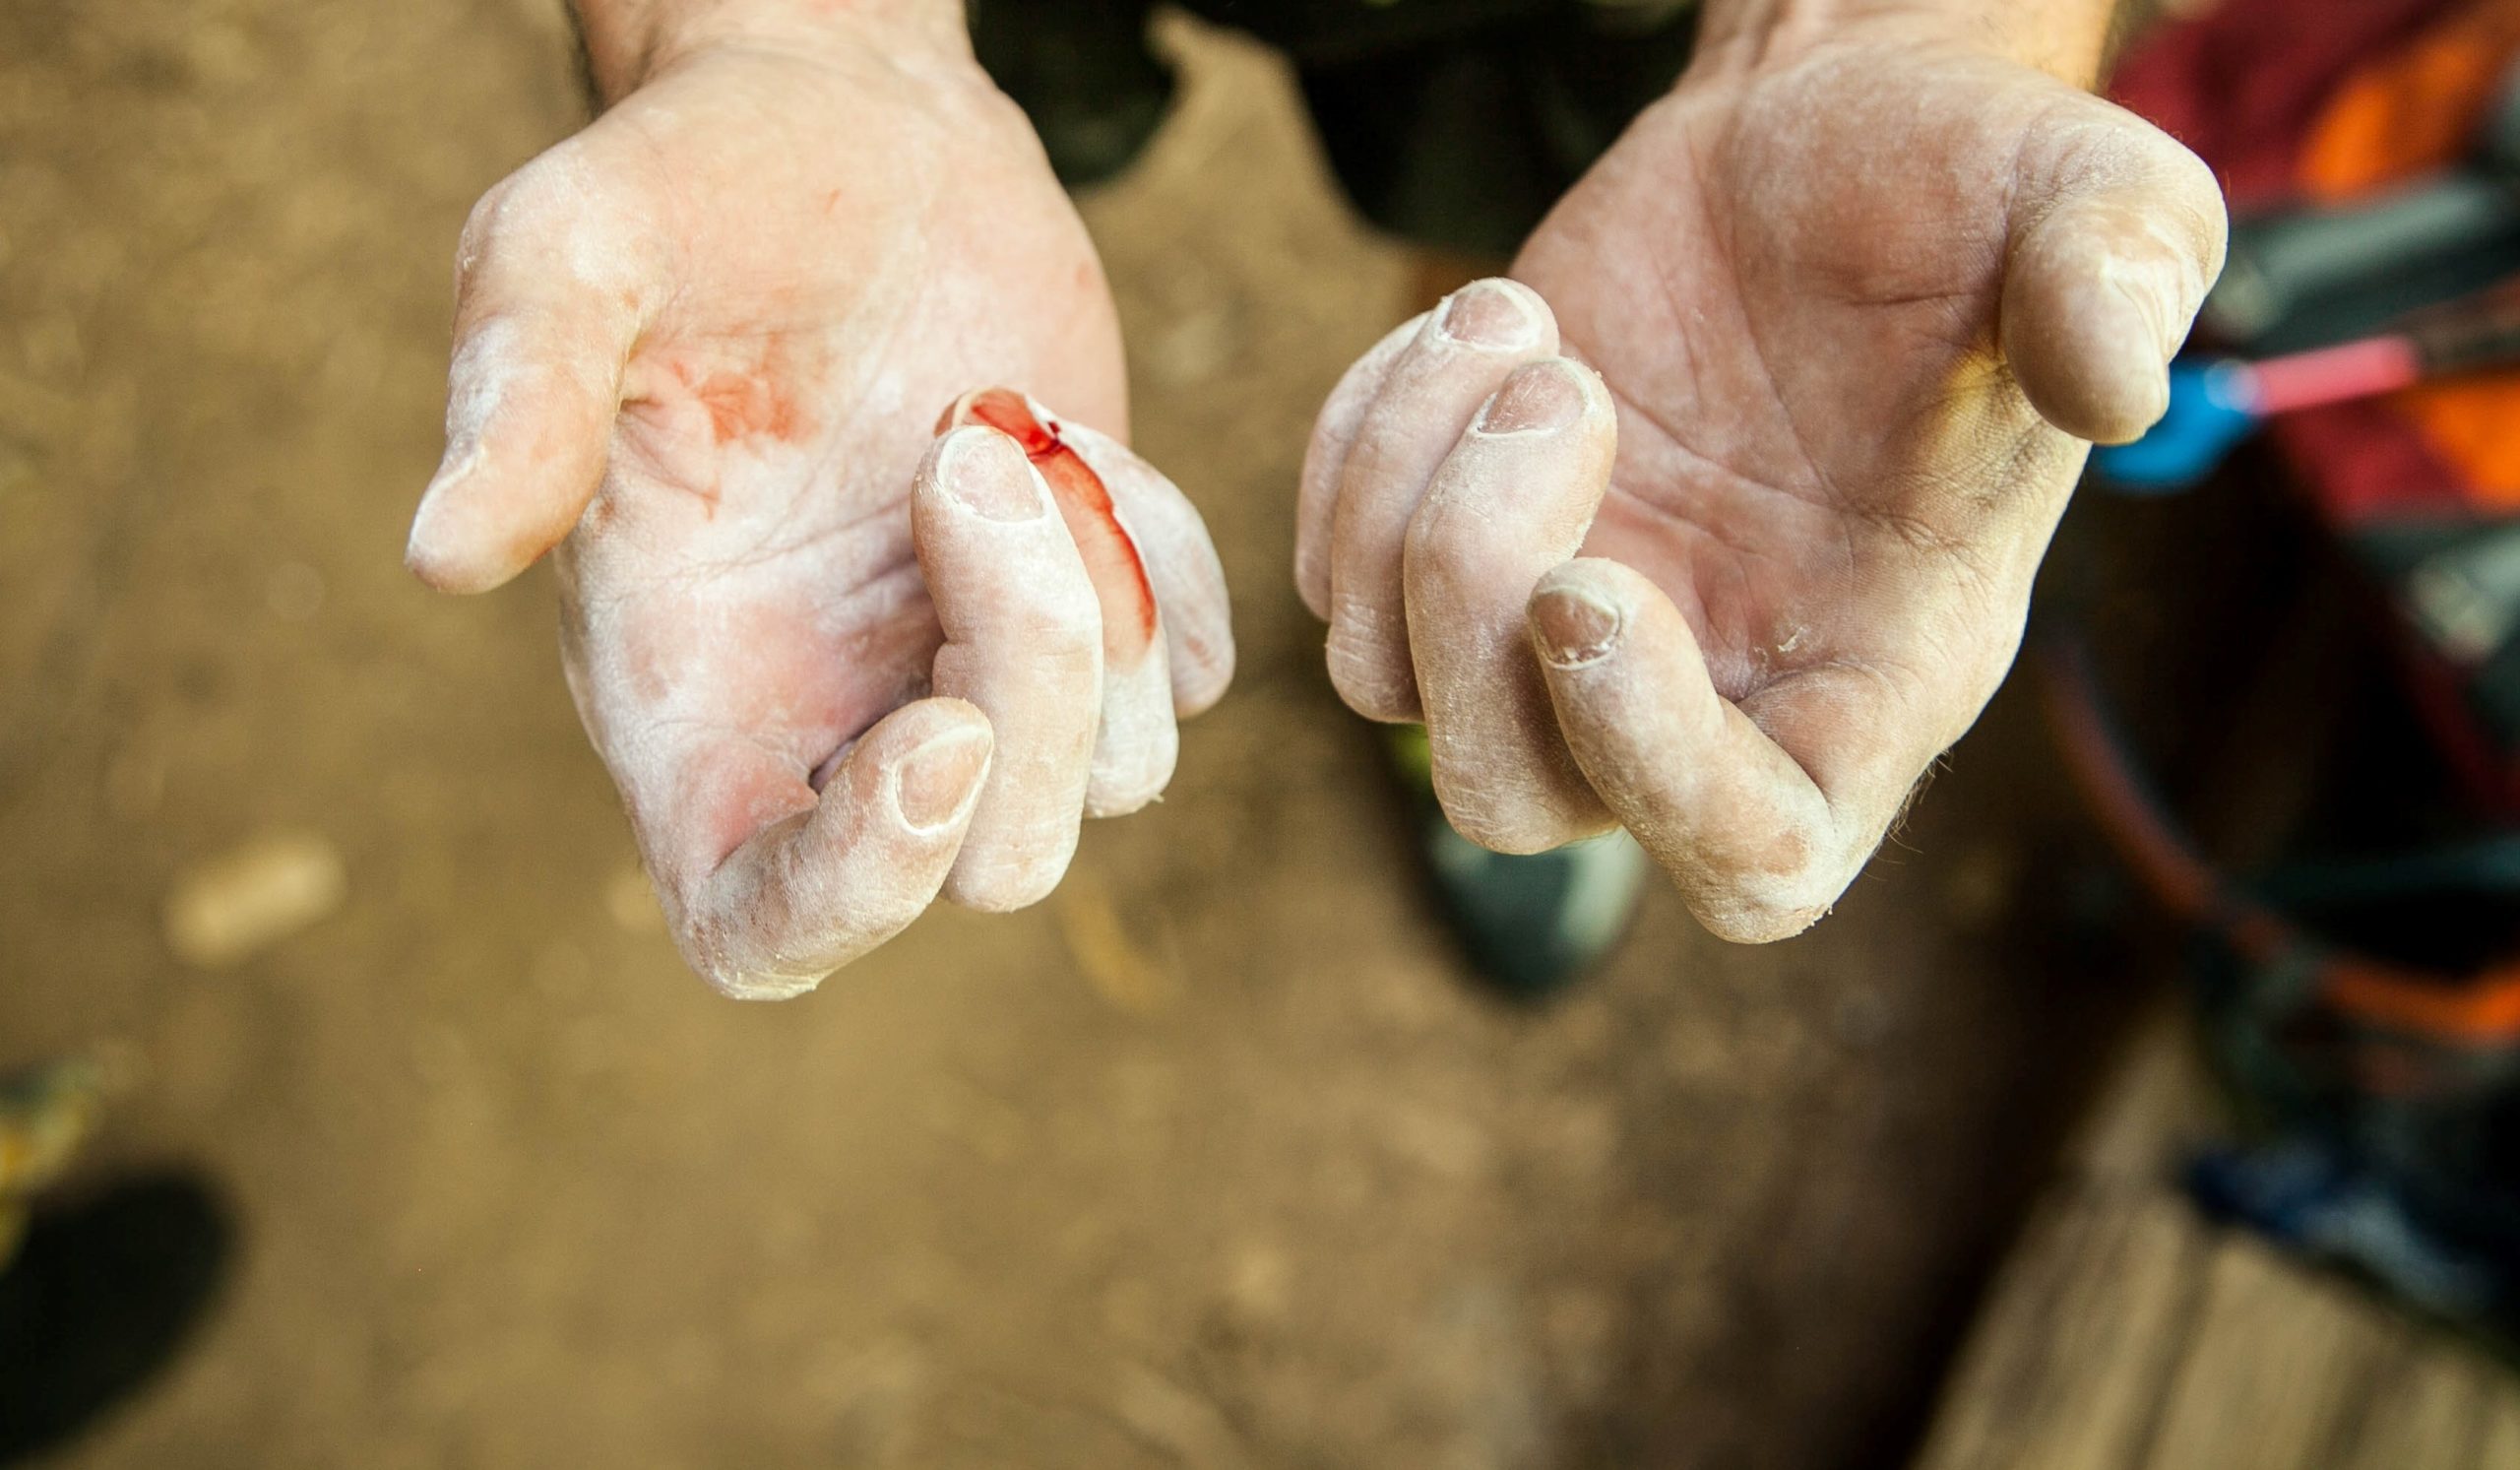
However, we don’t want a dreaded flapper. They are painful and can cause you to miss a few session bouldering. To prevent calluses from becoming a problem there are some things you need to do.
Should I Get Rid of my Calluses?
No! Having calluses is actually beneficial to you. However, they need to be maintained. You simply can not climb repeatedly without looking after your hands.
An essential part of climbing is skincare. There are numerous products you can use and we definitely recommend investing in some good quality hand cream.
How to Take Care of Calluses When Bouldering?
There are a number of steps you can take to take care of your hands. This includes before, during, and after your bouldering session. Skin is the human body’s biggest organ. Looking after it should be seen as a key part of your daily routine.
Even so, everyone is different and the following guidelines can be seen as a recommendation. The best method is to try for yourself and develop a routine that works for you!
Before You Climb
Cut Your Fingernails
Even before you think about hopping on the wall for your bouldering session, you should cut your fingernails down. You don’t want to hear your nails scratching the wall. Furthermore, if you have longer nails the more likely it is you will split a nail or rip it off. This may not be related to calluses, but it is a good part of overall hand care.
During Your Bouldering Session
Use the Best Chalk
You want chalk that does not include any drying agencies or other impure properties. The best out there is probably FrictionLabs, however, there are many options. If one is not working, then change it up. The more you try, the better.

Keep an Eye on Your Hands and Skin
We recommend keeping an eye on your hands throughout your climb. If you see any cracks forming the get your file out and sort it out! What’s more, if you see or feel your hands are becoming tender in a certain place, it is best to give up for the day. Tape only helps so much and resting for the rest of the evening is better than a few days!
After You Have Finished Bouldering
The First Step: Wash Your Hands
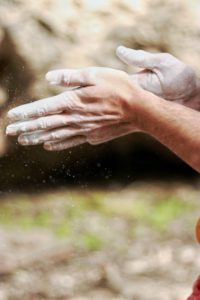
This is obvious, yet it is a necessary step. Getting all the gunk off your hands is important for their conditioning. Leaving chalk on your hands for the rest of the evening will dry them out. Overall, you should be doing this even if you aren’t looking after your hands!
Step Two: File Your Skin
The most important thing about protecting your hands when bouldering is keeping your calluses flat and smooth. A callus that is frayed, bumpy, or simply massive is prone to catching a hold and ripping off completely. This will leave a big dangling flap of skin, and a painful hole where it once was.
In order to counteract this, you can use a sandpaper file to smoothen them down. Naturally, you don’t want to do it too much, otherwise, it will hurt. There are many dedicated files for climbers out there. After a few practices, you will know what you are doing. Simply put, flat and smooth is the way to go.
Step Three: Apply Bouldering Hand Cream
Although it may seem counterintuitive, keeping your skin hydrated is a fantastic way at helping your bouldering calluses flourish. There are many specific climbing or bouldering creams, lotions, waxes or balms out there. This is for a reason.
If your skin is hydrated it is less likely to crack. Furthermore, the chalk drys your skin out considerably, so re-energising it is an essential part of your recovery. As soon as your starting apply hand cream you will notice a big difference in the way your skin performs. You will be ready to boulder every day.
Once again you will need to experiment with which one suits your skin best. There are some big names and we would recommend going with them first.
Step Four: Don’t Sit in The Bath for Four Hours!
This is more of a joking point, but if you do enjoy a long bath be careful! The longer your skin stays warm and wet the softer the calluses become! This will leave them loose and prime to rip.
Just don’t spend all night in the bath and you’ll be fine. Maybe do the dishes with some gloves on, not that you do them anyway!
Step Five: Rest When Your Hands Need It
An often overlooked point is resting. If they are feeling tender, or you have a preexisting cut/flapper then give it time to heal. There are many other exercises you can do for a few days and your hands will be thankful.
Help! I’ve Got A Flapper – What Should I do?
Always carry climbing tape with you wherever you boulder. This is an essential piece of kit! Even so, there are some other things you should do to help you combat the dreaded flapper.
Clean the Fresh Wound and Eat the Skin
Ok. Don’t eat the extra flapping skin, but at least cut it off. Or better yet smash it back into place and hope it magically regrows. We prefer the cutting off option.
Cleaning is basically just washing your hands. Just make sure there is no gunk or chalk in there.
Put a Plaster and Some Tape
If you have a plaster or small bandage you can wrap your it over the fresh cut. To keep it in place you can then wrap some climbing tape around it to keep it steady and in place. Obviously, this is just a temporary measure, but for those of you who love pain, it will at least allow you to finish the session.
If you are bleeding everywhere and don’t have tape, then please stop climbing. We don’t want to touch your blood, thanks.
Have a Couple of Days Off
The final stage of dealing with a flapper is resting. Your hands need time to recover. Once you go back to climbing, you can even put some precautionary tape where your newly healed flapper is. It shouldn’t take too long to heal though, a few days should be enough.
Bouldering Calluses Are Your Friend
Overall, well-managed bouldering calluses are an asset to your climbing. Strong skin means you can climb strong. There is plenty of bouldering gear out there that can aid you, but having perfect skin is definitely one of the essential tools. Follow oour guidelines and you will be fine.

